
Build an Authentication System with AWS Amplify, Cognito and React
29 July, 2022
17
17
1
Contributors
Building a simple authentication has never been easier with the help of AWS Amplify. In this step-by-step tutorial, let's authenticate users by integrating AWS Amplify (and Cognito) in a React app.
Prerequisites
- Node.js and npm installed in machine
- Basic JavaScript and React knowledge
- Any code editor (i.e. Visual Studio Code)
- AWS Console Account
If you don't have an AWS Account, you can sign up at: https://aws.amazon.com/console/.
Step 1: Install Amplify CLI
First thing you need to do is to install the Amplify CLI by running the code below:
Then, create a new React app with this command:
Step 2: Configure Amplify
Now we run the code below to start configuring Amplify:
It will prompt you to sign in to your AWS Account. Once signed in, go back to the terminal and press Enter.
Then you will be asked to select the region to deploy your app to. Select the most appropriate one according to your region.
Next, name a new IAM (Identity and Access Management) user, or go with their suggested one.
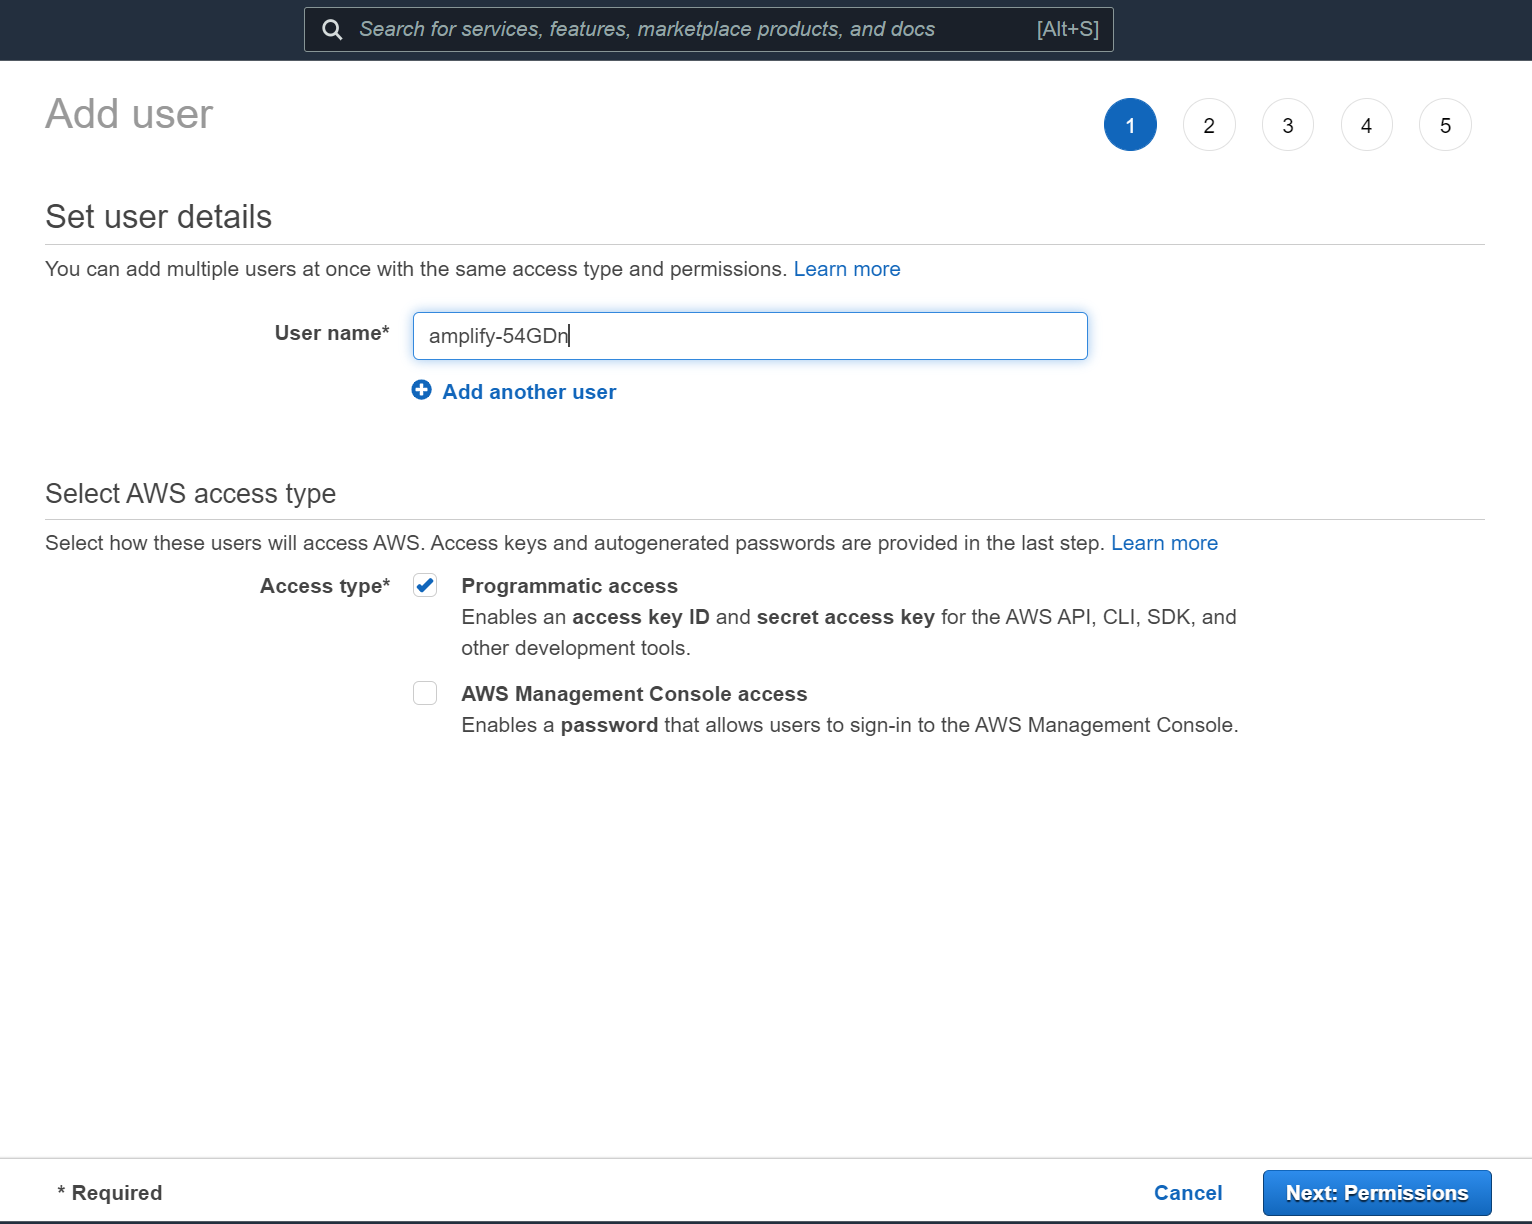
A new tab will open in your browser. This is the IAM Management Console, to set up the new IAM user on Amplify. Ensure 'Programmatic Access' is checked then click 'Next Permissions'.
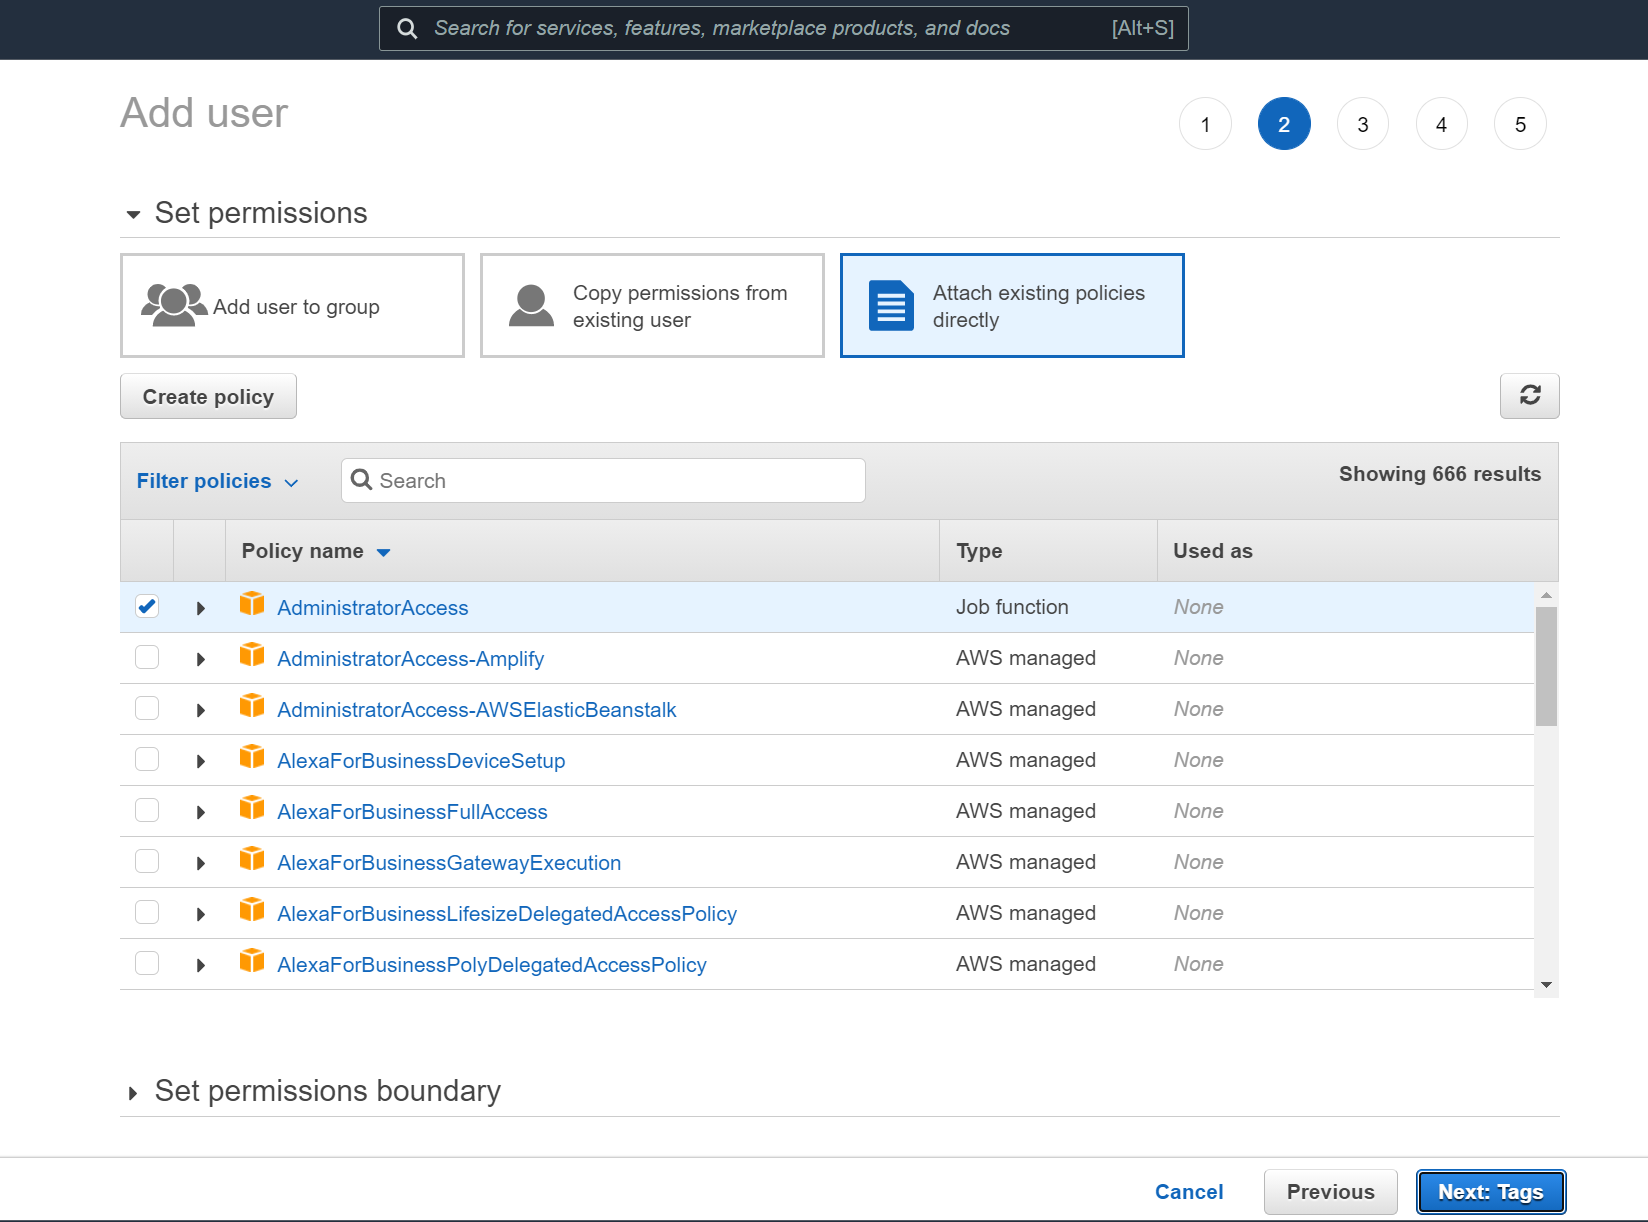
In the next screen, you will see that 'Administrator Access' is checked by default. If it is not, please check it, then keep clicking 'Next' until you reach the 'Create User' button.
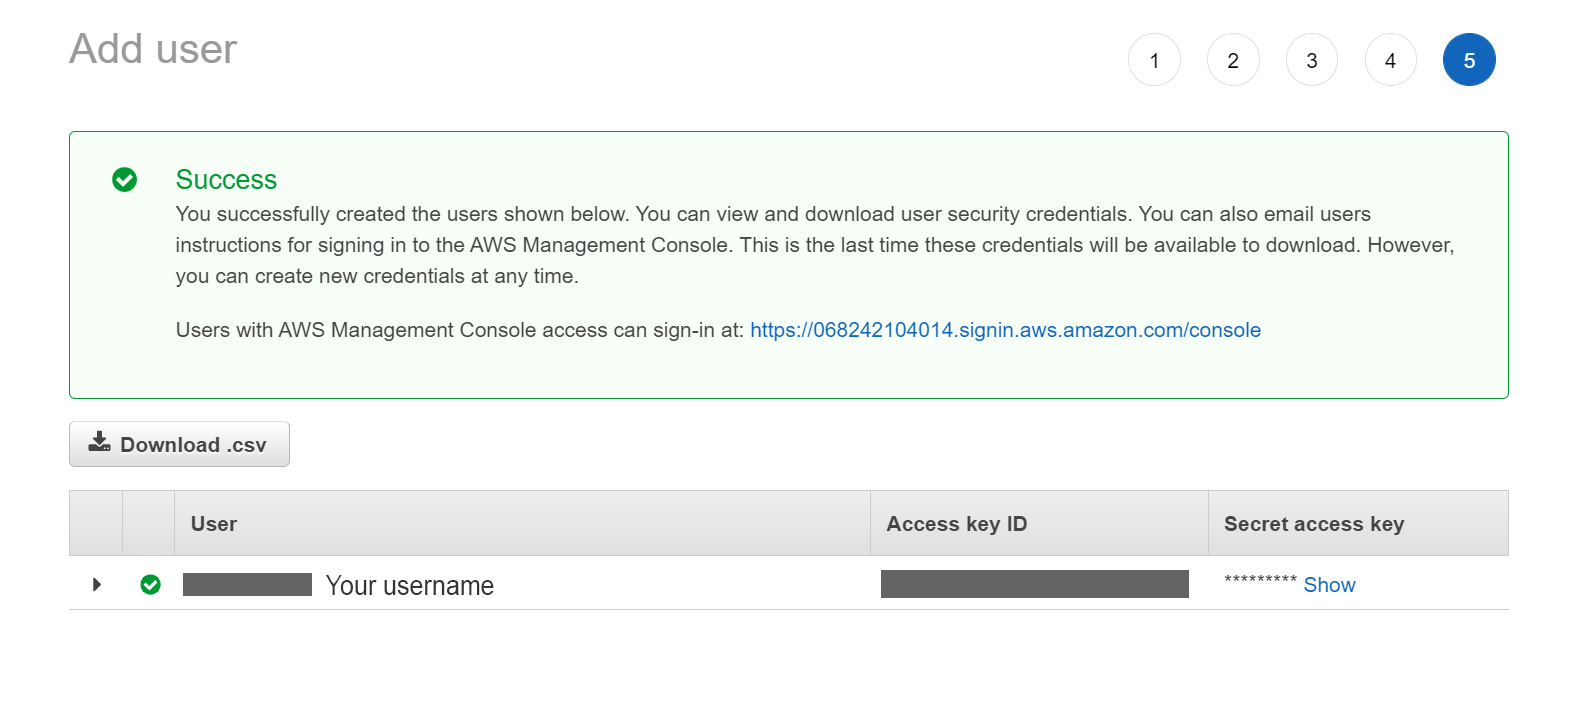
Once your user is created, you will see the screen below. Copy the Access key ID and head back to the terminal.
You will see the following message on the terminal. Press Enter to continue then paste the Access key ID into the prompt.
Next, it will ask for the Secret Access Key. Go back to the opened tab to copy and paste it into the prompt in the terminal.
Finally, they will ask for the ProfileName. You can choose whatever name you want then hit Enter to successfully set up the user.
Step 3: Initialize Amplify in the React app
Run the following command and enter a name for your app when prompted.
Then, it will ask for the authentication method. Select 'AWS Profile' and choose the user you have just created.
Once everything has been successfully initialized, you should see an amplify folder appear in your React app directory, and a file called aws-exports.js in your src folder.
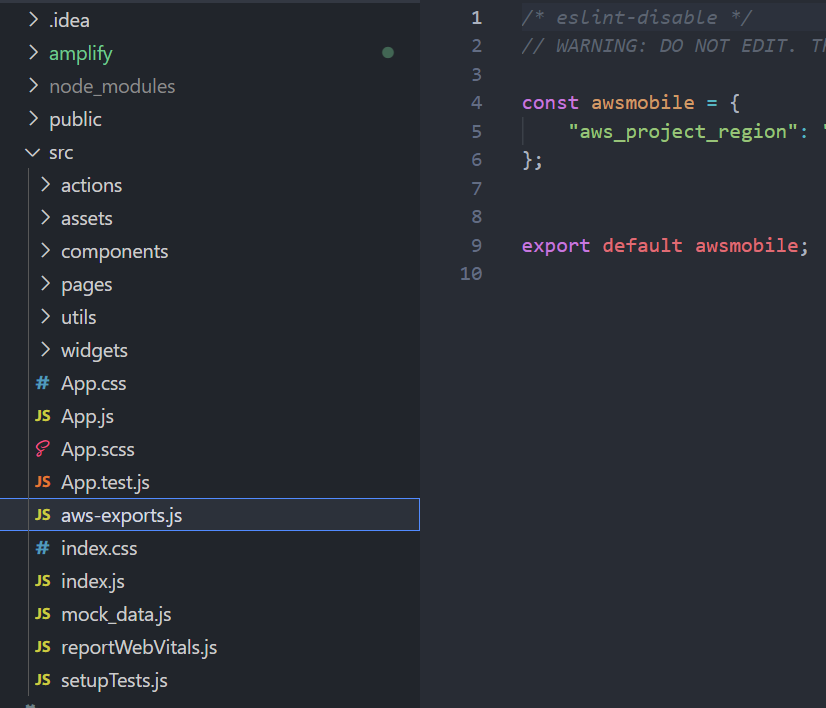
Step 4: Add Amplify Authentication
Run the following command to start adding authentication to our React app.
Once you run the command, you can see that this is automatically using the Cognito service. Select 'Default configuration' then press Enter.
Next, it will ask for the sign in method for your users. For this tutorial, select 'Email', then 'No, I am done'.
Now we have added this auth resource locally. Run the command below to push this resource to the cloud:
It will ask if you want to create a new resource. Type 'Y' for Yes then press Enter to continue.
Then, wait for a few minutes...

After all processes are completed, you should see your aws-exports.js has been updated with new configuration properties. And now, let's get to the main part of creating our authentication system for our app.
Step 5: Dashboard.js
Import the packages we need by running:
Create a new file in your src folder called Dashboard.js. This is the component where only signed in users will see.
We will do the following:
- Import the necessary packages
- Import aws-exports.js
- Import Amplify UI components
- Call Amplify.configure(awsExports) to configure Amplify
- Add AmplifySignOut component
- Wrap the Dashboard component in withAuthenticator()
Step 6: App.js
In App.js, you can have a 'Sign In' button to redirect to the Dashboard component when the user clicks on it. For the simplicity of this tutorial, let's just directly import the Dashboard component like so:
Then add the component in the return function:
And congratulations! You're all done! Now run npm start in the terminal to test.
Testing
Create an Account
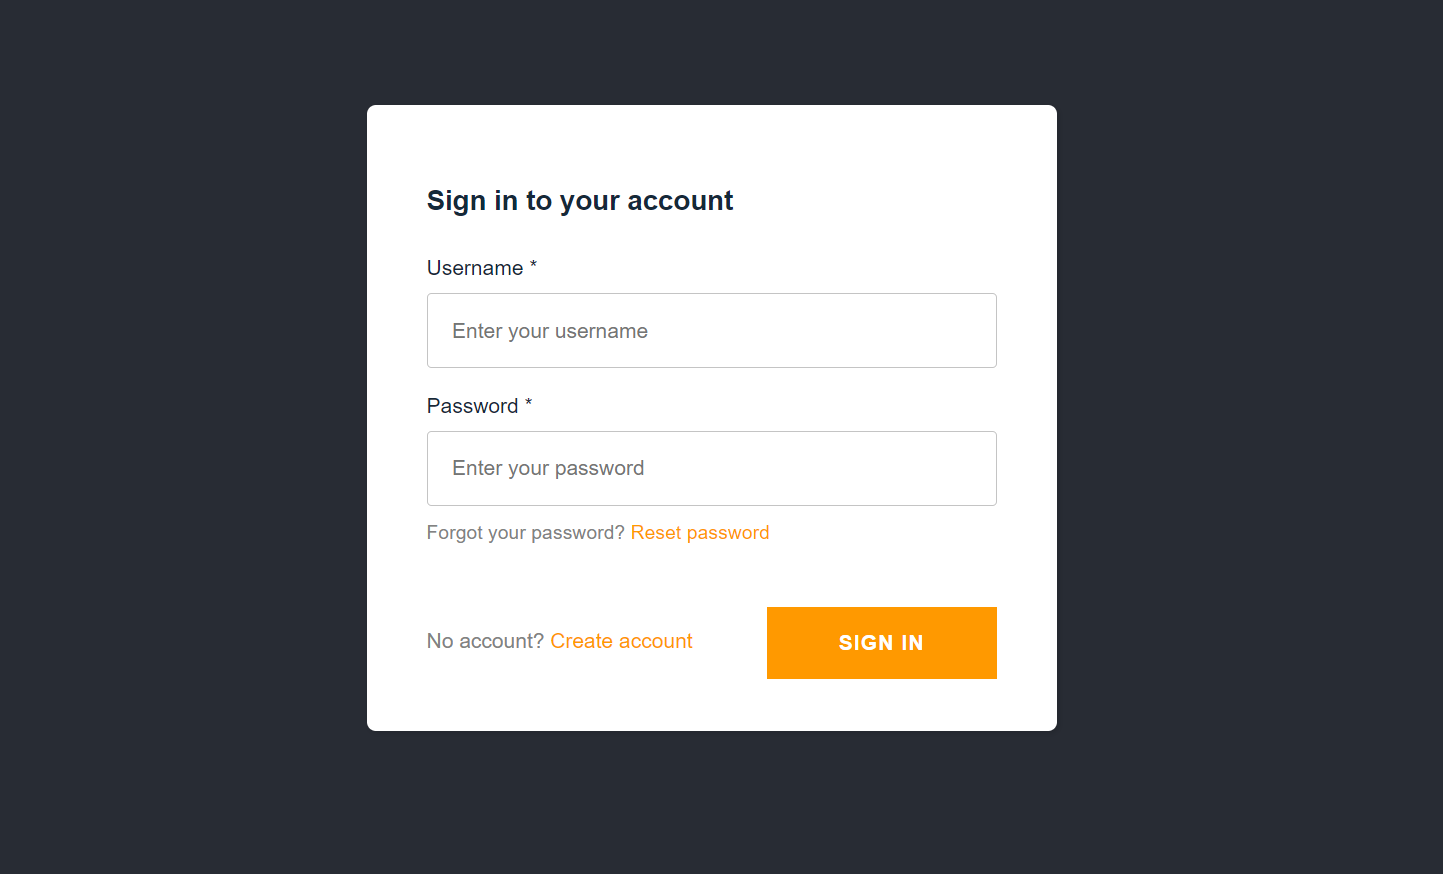
If there is no user signed in, a Sign In page will automatically be shown. So create an account to get started.
Confirm Account + Sign out/in
Once the verification code is retrieved, paste it in and the user is automatically shown the Dashboard component with the Sign Out button.
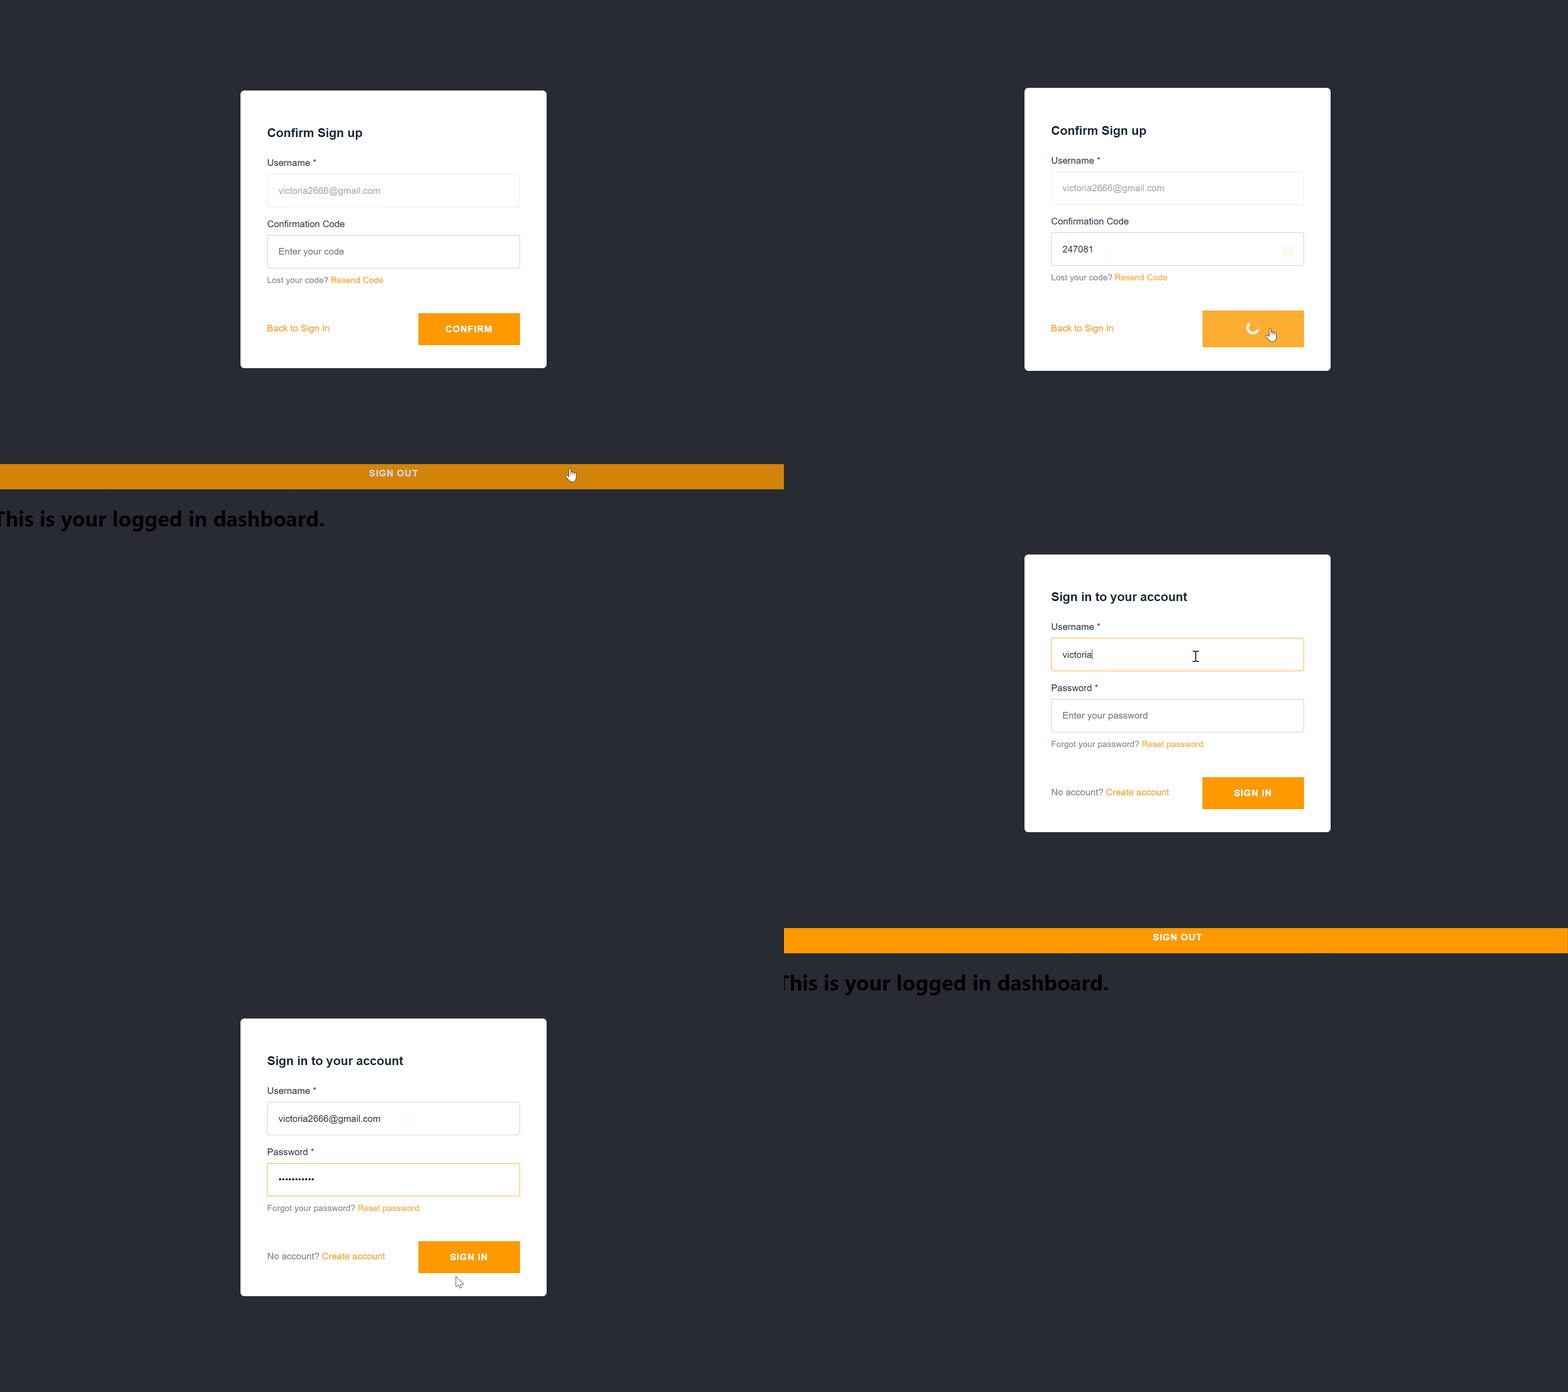
Upon clicking Sign Out, we will see the Sign In page again. If we sign in with our credentials, we should see the Dashboard page again.
And that's it!
Now you know how to set up an authentication for your React app easily using AWS Amplify. It's pretty simple, isn't it?
Of course, for more customization options to the authentication process, please check out the API Docs or read more about Amplify in the References section below.
Thanks for reading, I hope it has been helpful. If it is, do leave a like and share it around. Also, please feel free to ask questions in the comments below. Stay safe and cheers!
References
react
aws
javascript
frontend
authentication

